

Table of Contents
- The Passion Behind the F-22 Raptor Experience
- Getting the Right Plans and Preparing Materials
- Choosing Your EDF and Beginning Construction
- Control Setup and Electronics Integration
- Final Flight Tips and Exploring Beyond the F-22
1. Taking Flight with the F22 EDF Jet—A Thrilling RC Experience
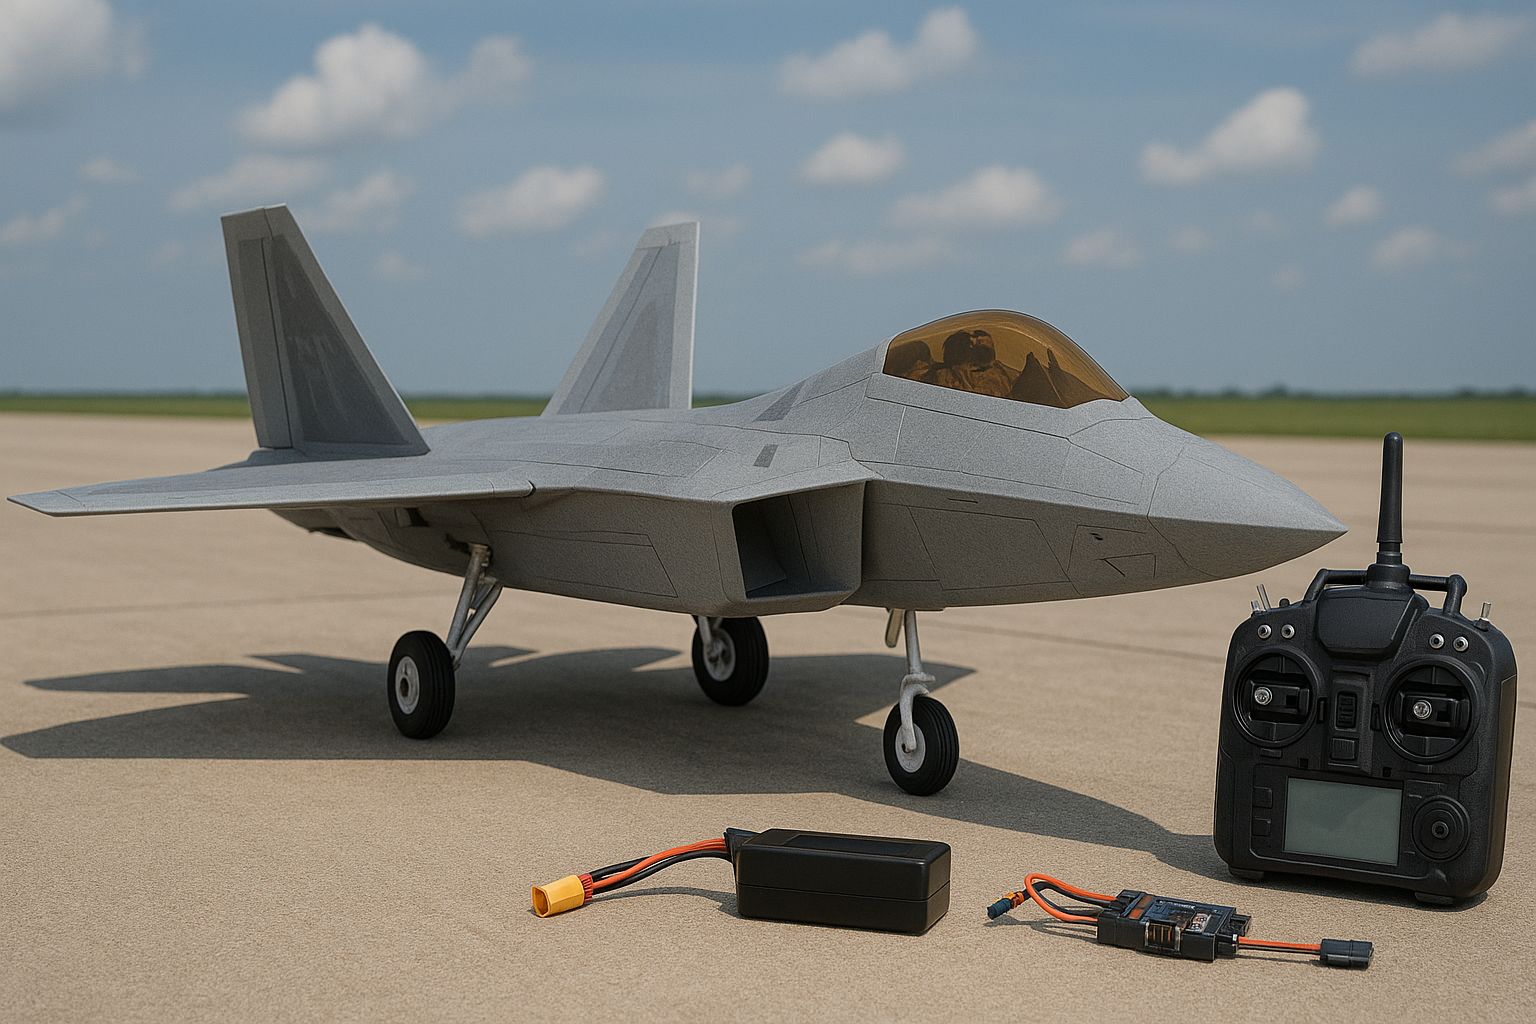
Build Your Own RC EDF F22 Jet Download Plans Enjoy
Building and piloting a scaled-down replica of the F-22 Raptor is more than just a pastime for RC fans; it’s a full-fledged passion. Nothing compares to the sleek, aggressive silhouette of the F-22 Raptor darting across the sky. The EDF F22 jet’s amazing speed, great dexterity, and jet-like feel have made it one of the most popular projects for RC builders. This aircraft’s electric ducted fan engine and foam structure provide speed, stability, and agility without breaking the bank. If you take your time, stick to a plan, and get familiar with each system as you go, it’s also surprisingly beginner-friendly. Anyone who wants to construct something that not only looks like a fighter aircraft but also flies like one may use this tutorial to get a free set of F22 EDF foam jet plans. Build Your Own RC EDF F22 Jet Download Plans Enjoy

The first thing you should do is get the appropriate plan. Here is a link to a tried-and-true RC F22 EDF jet foam board plan, so you’re covered. Depending on your taste and flying field, these designs may be used with either 50mm or 64mm EDF units and are made using basic foam board materials like Dollar Tree foam or Depron. Get the plans in PDF format. Tile them together and begin cutting after printing them on A4 or letter-sized paper. You don’t need to be an expert to comprehend each area since it is properly labeled with folds, glue zones, and component positions highlighted. The greatest aspect is that this construction is modular, so as you get more skill, you can simply modify it for improvements or replace the electronics. Before you begin cutting and adhering, make sure you have all the necessary supplies. Because it is a foam jet construction, it is inexpensive, lightweight, and crash-tolerant. Foam board hot glue or foam-safe CA is required. Use packaging tape for hinges or sealing control surfaces and a sharp hobby knife to adhere carbon fiber rods for reinforcement. Build Your Own RC EDF F22 Jet Download Plans Enjoy
2. Downloading Plans and Gathering Essentials
A suitable ESC is also required if you’re using a 50mm or 64mm EDF fan unit; they range from 30A to 40A, depending on the motor rating. A radio transmitter with elevon mixing capabilities, a 4-channel receiver, and a 3S LiPo battery You may also test components before attaching them with the aid of a servo tester and simple soldering equipment. Build Your Own RC EDF F22 Jet Download Plans Enjoy

Regarding the fan unit, this RC model’s jet-like propulsion and scream are provided by the electric ducted fan, or EDF. A 50mm EDF unit with a brushless motor operating at 4300 to 4800 KV is an excellent basic configuration for backyard or small field flying. It provides sufficient propulsion for aerobatic flying while using little battery current. A 64mm EDF with a higher wattage motor and 4S LiPo can simply blow you away if you’re searching for speed and distance. However, keep in mind that the power system must be harmonized with the strength of the airframe and your flying ability. Don’t make your first version too complex. Keep it light and make improvements as you go. When properly balanced and constructed, even a simple arrangement may provide remarkable flying performance. The construction phase is the most fascinating aspect of the process. To begin, print the paper plans, adhere them to your foam sheets, and carefully trace each component. Use caution while using the knife to ensure that your cuts are straight and clean. To prevent damaging the foam, make sure your knife is sharp and use a metal ruler. Build Your Own RC EDF F22 Jet Download Plans Enjoy
3 Building the Fuselage and Control System
After your components are cut out, start putting the fuselage together by working your way up from the bottom plate. The vertical stabilizers should fit snugly, and the wings should line up flush with the main body. If you want to reach full throttle later, the blueprints will tell you where to install carbon fiber spars to reinforce the fuselage and strengthen the wings.
To allow for unrestricted movement on control surfaces, carefully cut your elevons and bevel the edges. Use foam-safe adhesive or packing tape hinges to hold them in place. Installing the servos within the wing cutouts and attaching them to your elevons using control horns and pushrods is the next step. Before gluing everything in place, make sure the servo centering is correct and use a basic two-servo elevon mixing arrangement on your radio transmitter. It takes some time to mount the EDF unit; depending on your design, it should fit snugly in the internal tunnel or rear exhaust hole. For a smoother exhaust and more effective push, some builders choose to install the EDF within a thrust tube composed of laminated paper or rolled plastic.
4. Installing Electronics and Preparing for Flight

The performance and sound realism are greatly enhanced by this little tweak. It’s time to bring your F22 to life when the frame is finished. Use Velcro or foam tape to attach the ESC and receiver close to the center of gravity, and make sure the wiring is neat and out of the way. To fine-tune balance, place the LiPo battery in a central bay that allows you to move it slightly forward or backward. Check the servo movement after connecting all the circuits and binding your radio. The EDF throttle response and ESC arming Avoid skipping this testing stage, particularly if it’s your first build, since a single misaligned servo or a faulty solder junction might result in a crash only seconds after takeoff.

The Gravity Center On jets like the F-22, CG is crucial, and it should normally be placed directly beyond the leading edge of the wing or wherever the design specifies. To get the ideal battery position, use your fingers or a CG stand to balance the aircraft from nose to tail. It’s time for your first flight after you’re sure everything goes as planned. Aim slightly higher and launch your F22 with a forceful underhand throw at around 70% throttle. Don’t try too hard the first time. Rather, maintain stability and adjust your controls while in flight to ensure the jet flies level. Control is more important for a successful first flight than speed. Review your battery statistics, ESC temperature, and airframe condition after a successful flight to make any necessary adjustments.
5 Mastering Flight and Exploring More Jet Builds
Because of its throttle-sensitive control and high speed and low drag, flying an EDF jet is not like flying a prop aircraft. Because EDFs react swiftly to elevon input and stall quickly if you pull too hard at low speeds, you should practice smooth motions. Fly in open areas, such as dry lake beds or sports fields, when the weather is calm and windy. Additionally, pay attention to flight durations—EDFs use a lot of power and often fly for three to five minutes on a 2200mAh battery. To prevent your battery from dying, always land with enough energy remaining and set a timer on your radio or telemetry, if one is available.
After mastering the F22, you may experiment with other incredible foam EDF aircraft, such as the F35 Mirage or Sukhoi Su27, and even scale models that have functioning lights and retractable landing gear. Foam board RC jets have the advantage of being able to be upgraded and crash-rebuilt without breaking the bank. Additionally, you will have practical experience with aircraft design and aerodynamics electronics, which will transfer into practical technical expertise. Don’t be shocked if this pastime eventually leads to you creating your own customized jet or 3D printing special components. The EDF F22 foam jet is an exciting and satisfying project that puts the sky in your hands, regardless of your level of expertise. It is suitable for both novice and expert RC pilots.
j1 planes need